
Thai-style Chicken Wraps
One of my favorite parts about traveling is trying new foods. I’m a true foodie and LOVE experiencing a new city through food, especially when I can then recreate my favorite meals at home. This past weekend my friend Brooke and I went on a mini-vacation to nearby Austin, Texas. I’ll save the details of our girls trip for my next post… but as a preview I’ll share how I was inspired to try making a new type of wrap as part of my weekly Sunday food prep.
Check out my Inspiration: Thai Salad Wrap from Cherrywood Coffeehouse
Grilled chicken or fried tofu, cucumbers, red onions, carrots, daikon radish, shredded cabbage, cilantro, and our Thai peanut dressing wrapped in a toasted flour tortilla.
If you’re in the area you can find this tasty wrap at 1400 E 38th 1/2 St. in Austin, TX. Also, be sure to check out their full menu here!
My Make-at-Home version of Thai chicken wraps (& a salad variation)
Pick up these ingredients….
For the wraps:
Meat: 1 package chicken breasts
Vegetables: 1 red cabbage, 1 package rainbow carrots, 1 package sprouts, 1 watermelon radish, bunch of cilantro, small red onions (local if possible)
Spices & other: Turmeric, Salt & Pepper, Olive Oil spray, raw peanuts, low carb whole wheat tortillas like these
For the dressing:
Creamy peanut butter (1/4 cup), coconut milk (1/8 cup), tamari (2 tbsp), coconut sugar (2 tbsp), juice of 1 small lime, red curry paste (1 tbsp)
To make the wraps:
Step 1: Cook the Chicken
I like to bake my chicken in a 400-degree oven until the center is no longer pink… so depending on the thickness of the chicken breast, it takes around 25-30 minutes. Get this in the oven first so you can continue to make the wraps while the chicken is cooking.
Cook the chicken on a wire rack, over a baking sheet lined with aluminum foil for easy cleanup.
Spray the chicken with olive oil spray, then sprinkle with turmeric, salt, and pepper.
I could go on for hours about all the wonderful benefits of turmeric, and I try to sprinkle it in to my food whenever and wherever I can!
Step 2: Start making the guts of the wrap
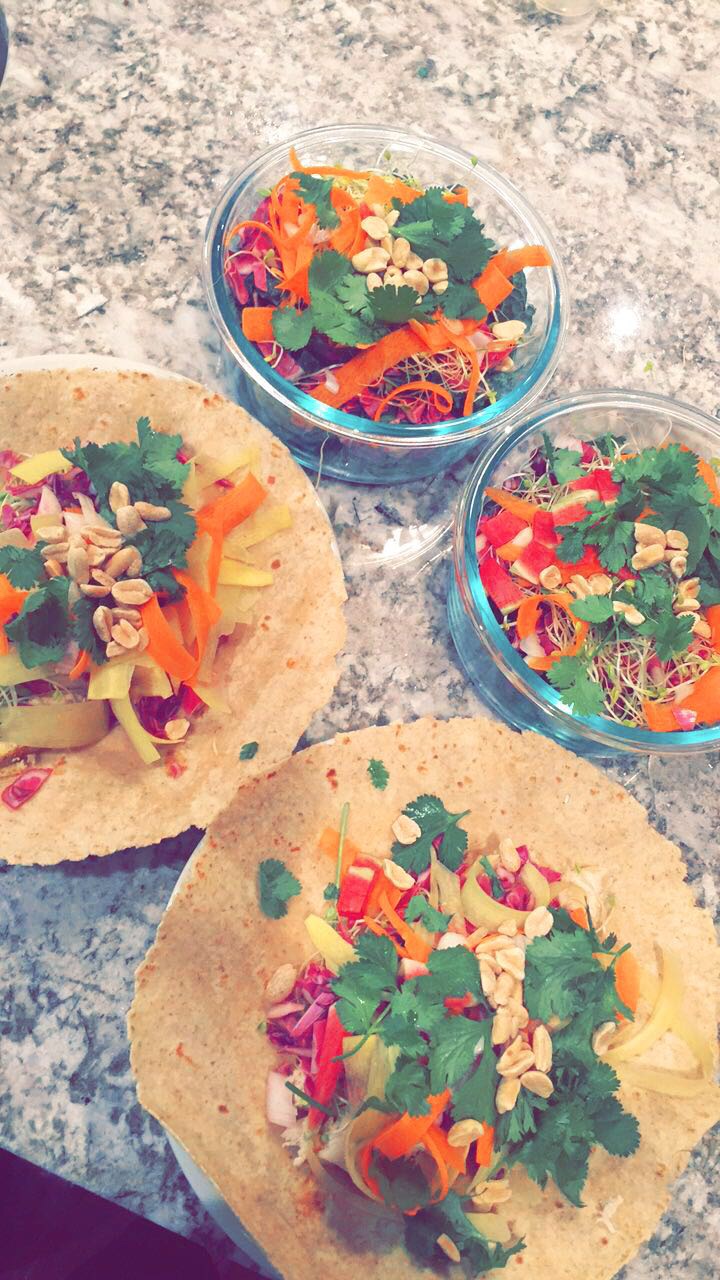
In any order that you like, clean all the veggies and begin chopping! As you prepare each vegetable/filling, start layering it in as many wraps as you plan to eat!
Chop up ½ of the red cabbage (save the rest for later in the week)
Cut into small pieces ½ of the watermelon radish (also save half for later)
Peel the exterior of 2 carrots, then continue peeling and place the carrot shavings aside. I like to use carrot shavings instead of chopped pieces since they’re nicer to eat and easier on your teeth, especially if you’re placing them in a wrap. Check out the picture if you have no idea what I mean by carrot shavings.
I love peanuts so much, so throw in some whole peanuts
Sprinkle some cilantro leaves in too!
Chop into tiny pieces some red onion and place in the wraps as well!
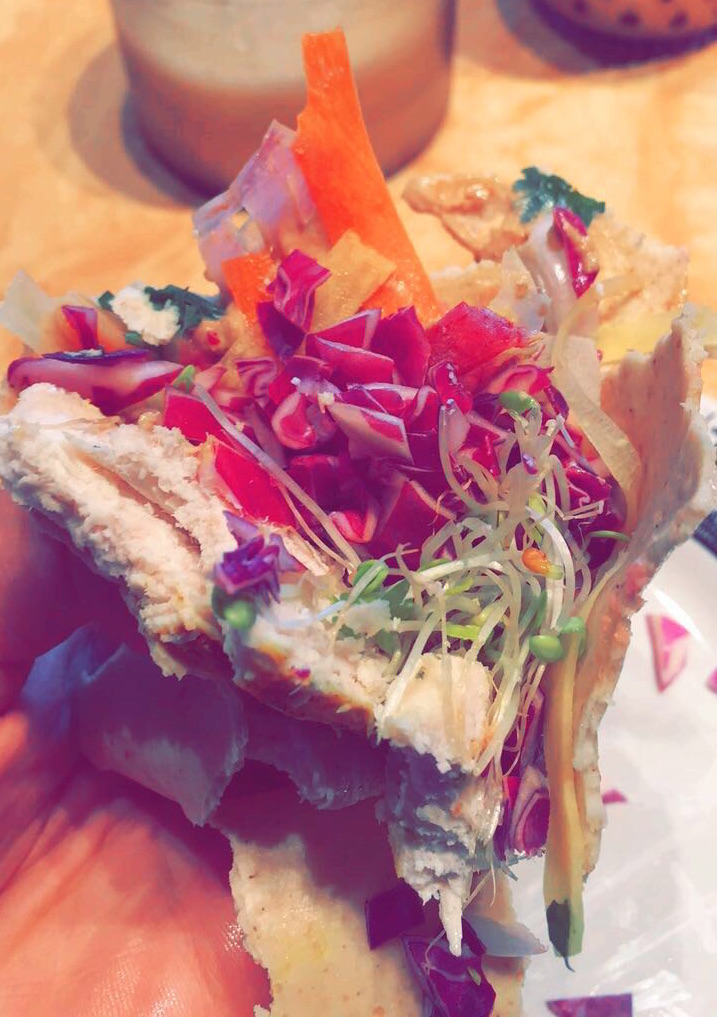
By now you should have a beautiful mound of vegetables placed on your wraps. Hopefully the chicken is cooked through, so you can remove from the oven, let it cool, and start slicing that as well!
Step 3: Time to dress it up!
The dressing recipe below is inspired by one that I found here on The Chunky Chef!
To be honest, I planned on using the peanut dressing recipe at the link above, but I have a terrible habit of thinking I have ingredients that I don’t. What usually happens in this case is that I start by following a recipe, decide I can improvise, and end up inventing my own recipe. So, while I bet the recipe on Chunky Chef is amazing, I hope you like my improvised one just as much!
Combine in a bowl the dressing ingredients from above – ¼ cup peanut butter (I heat it up for 30 seconds in the microwave so it mixes easier), 1/8 cup of coconut milk (warning – the coconut milk might separate in the can so you’ll have to mix it up), 2 tablespoons of Tamari, 2 tablespoons of coconut sugar, the juice of 1 small lime, and a tablespoon of red curry paste.
I like to keep the dressing on the side unless I plan on eating it the very next day.
Also, the above recipe can easily be made into a salad, like I did in the picture! Load the bottom of the bowl with dinosaur kale and layer the guts of the wrap on top, same as you did for the wraps!
Try out these wraps and the salad version and comment to let me know what you think! I’d love to hear how you made them your own! Thanks to both Cherrywood Coffeehouse and The Chunky Chef for the inspiration! Remember to practice good food safety and all the words above are simply my opinion so please be smart and remember to wash up!
EAT UP MY FRIENDS!